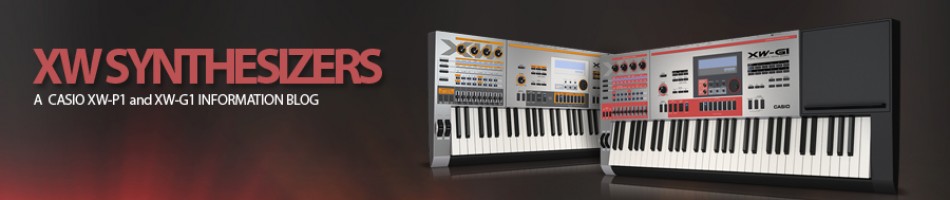
Pumping bass sounds on the XW-synths
Very common in electronic dance music is to have a bass sound that “pumps” on the off beat and doesn’t clash with the frequencies of the kick drum. The common way to do this is to “duck” the volume of the bass sound down using a compressor so that when the kick drum hits, the volume of the bass sound is reduced, then the bass sound returns to normal volume as the kick disappears.
The XW’s can recreate that effect a number of ways but I created a sound that utilizes a very powerful feature of the XW’s Solo Synth engine. The envelopes have a “Clock” feature that will cause the envelope to repeat to the tempo and division of the beat that is chosen. In this case it repeats each beat and with a slow attack time you get a nice swell into the off beat.
This sound can be heard in this demo which also uses the PX-5S for some other sounds.
Download the bass sound at http://www.casiomusicforums.com/index.php?/files/file/774-pumped-bass/
Creating PWM on the XW-P1 and XW-G1
We’re still finding exciting ways to make new sounds on the XW-series.
In HexLayer mode the XW-P1 is essentially a sample based instrument. The waveforms it provides are digital recordings. While the range of waveforms is quite vast, they are “static” samples….meaning it is impossible to change a waveform’s shape over time the way an analog or virtual analog synthesizer can. Or at least it appears that way on the surface.
If you dig deep into the collection of over 700 waveforms the XW-P1 provides in HexLayer mode you’ll find a wide variety of waveforms, may of them appear to be similar. On the surface combining two different sawtooth waveforms as an example allows the XW-P1 to have a richer sound than using two identical waveforms. Some of those sawtooth waveforms however are not like the others, which can allow for some exciting new sounds.
The XW-P1 provides a number of sawtooth waveforms actually reverse or inverse sawtooth waveforms. When they’re heard one at a time, it would be nearly impossible to distinguish between the regular sawtooth and the inverted one. When you combine them, this is when the magic happens.

From the Sound on Sound “Synth Secrets” article on PWM.
If the two waveforms are 100% identical, when they’re combined they actually cancel each out completely – you wouldn’t hear anything at all. As soon as you begin adjusting the pitch of one sawtooth vs the other the combination creates the PWM effect. This picture taken from Sound on Sound Magazine’s Synth Secrets article isn’t 100% accurate but essentially shows the result.
This method can also be applied to the Solo Synth in both the XW-P1 and XW-G1. Utilizing this technique you can create some very BIG and rich sounds. Using the technique described above You will however reach a point detuning the two waveforms from each other where it will sound less like a PWM effect and more like two waveforms that are simply far out of tune from each other. Luckily there is another method that can be utilized in Solo Synth mode to achieve a PWM effect with a faster cycle.
To do this create a Solo Synth tone with two identical sawtooth waveforms. On one of the Oscillators, scroll down and find the LFO2 Depth.
Next, leave Oscillator Edit and go to the LFO2 page (picture taken from PX-5S) and make adjustments as shown.  You can adjust rate and depth to taste but now you have a faster PWM effect.
These are only a couple of applications that can lead to some really remarkable PWM sounds.
Additional audio examples along with sounds to download for your XW-P1 and XW-G1 are coming.
XW-P1, XW-G1 Controllable Feedback Loop
The External Input on the XW-series has many possibilities but here is one that perhaps you had not thought of before. Plugging the output of the XW, into the External Input to create a feedback loop.
A note of CAUTION before we go any further – the following process can create some serious, high level noise. Please lower your listening levels to a minimum level before proceeding.
First to listen to this experiment, you’ll want to listen to the XW from the Headphone output. This is what should be connected to your mixer, speakers or of course your headphones. You’ll want to use a Solo Synth tone with the External Input enabled. Note that the XW’s instrument and Mic Inputs are always active unless you select a tone with the External Input enabled. So you’ll get Feedback on ALL TONES if you’re not careful. If you’d like the Solo Synth tone used in the video, download it here: http://www.casiomusicforums.com/index.php?/files/file/585-xw-feedback-looper/.
Second Warning: LOWER THE VOLUME. The Left/MONO output should be connected with a 1/4″ cable to the Mic Input or Instrument Input on the back. Now when you play this sound and raise the level of the External Input you’re creating a feedback loop. Slider 5 on the XW-P1 can control the level of the feedback loop. On the XW-G1 you’ll have to select the 5th Oscillator then use the Level Control. As an alternative, you could also put an Amp Envelope on the External oscillator so this effect fades in over time or assign another controller such as the modulation wheel to control the level of the feedback. Have fun and if you come up with some interesting sounds, post links in the comments below to share.
Here is an example:
XW’s and ACID House
The capabilities of the XW-series specifically for House or ACID house are quite incredible and mostly untapped. With the recent craze for some re-issued products, here on our blog we’ll be showing you a number of things that the XW’s have been able to do all along, in their own unique and powerful way.
The first two core essential components in this genre are drums and bass. The TR-808, TR-909 and other drum machines sounds were often used. Both XW’s provide these kinds of sounds first place to look are the Synth Kit1 and Synth Kit2. TIP: On these kits, be sure to use the -octave switch to find an additional kick on note B1.
The XW-G1 does have the overall advantage when it comes to drum sounds. Not only does it have more built-in drums but you also have the opportunity to supplement those using its sample memory. Take a look at some of the sounds available for download at http://www.casiomusicforums.com
Next, the XW’s Solo Synth can provide the next core ingredient for the sound of the baseline. The oscillators in the XW’s provide a wide assortment of waveforms including some specifically from the TB-303. Since the XW’s architecture allows for 4 waveforms at once, you can blend these or switch between them live to create bass sounds far beyond the traditional. Tip: The secret to really getting the XW’s bass sound to squeal like the original TB-303 is the Distortion DSP effect. The TB-303 didn’t become famous because it sounded good in a traditional way, but because it sounded NASTY in a good way. The XW’s Distortion effect can be used to really bring these sounds to life.
Here is a quick example using the XW-P1.
In the next article, we’ll discuss the differences between the XW series and the advantages of the XW-G1 over the XW-P1 for this style of music.
MIDI Desinger XW is HERE!
It is finally here.
Casio XW: Solo Synth Controller is the official MIDI controller for the XW Solo Synth. This groundbreaking, six-oscillator, monophonic solo synth is an innovative, hybrid sound engine available in all Casio XW keyboards. Now, Total and direct control of the Solo Synth, both for live performance and sound creation, is just a touch away.
◎ Forget about edit menus! Over 500 controls access all Solo Synth parameters
◎ Live performance pages with XY controls for filtering and volume blending
◎ “Ganged controls” (supercontrols) allow for manipulating multiple parameters simultaneously
◎ Detail pages allow you to explore the world of possibilities offered by the XW’s six oscillators
◎ Global presets get you started: create your own presets and switch between them instantly
◎ Connect any way CoreMIDI can: use Wi-Fi or hardware such as the Line6 MIDI Mobilizer II, iRig, iConnect, and others
Want to customize further? Casio XW: Solo Synth Controller is built on MIDI Designer. Upgrade to MIDI Designer Pro to create your own pages, reorganize, and redesign to make your own XW layout. Then share it with the vibrant MIDI Designer Community.
Now available at the app store:
https://itunes.apple.com/us/app/midi-designer-xw-casio-xw/id723189543?mt=8
Live Looping on the XW synths!
Live Looping using a Casio XW-G1 and an iPad. The same thing is possible on either the XW-P1 or XW-G1 using the Step Sequencer and Phrase Recorder.
XW Facebook Users Group
XW-G1 owner Scott Hamlin has created a users group over on Facebook. It is a great resource where users are sharing their experiences with the XW-P1 and XW-G1. Have a question on how to do something? You’ll get a quick answer of here. Join in at https://www.facebook.com/groups/Casio.XW.Synths/
Minimoog Inspired Set
It is so easy to be inspired by the Minimoog. Such as classic design and sound that is still sought after today. While being a digital synthesizer, the XW-series can do a pretty remarkable job of mimicking those classic Moog sounds. The Minimoog had 3 oscillators plus a noise generator and although the XW has a 4th oscillator in its Solo Synth engine – all of these sounds were crafted with the original in mind. A set of 10 Leads and basses, the specialties of the Minimoog

Go to the downloads section at Casio Music Forums to download the set of 10 presets crafted by Casio’s Mike Martin. There are separate downloads for both the XW-P1 and XW-G1.
XW-G1 Live Clinic
If you missed the LIVE clinic, don’t work it was recorded. Check out Mike Martin and the XW synths.
XW-P1 plus iPad = Amazing
Take an XW-P1 and add an iPad and it opens a world of possibilities. We’ve discussed how to use the XW-P1 to drive software based instruments – this app is controlling the Solo Synth on the XW-P1. Which app? How is this possible? More details coming, we’ll be showing this at the Summer NAMM in Nashville next week.

New Editors for the XW-P1 and XW-G1
Casio released updates today for the XW’s Data Editors for both Mac and Windows platforms. This update fixes some issues with Windows 8 compatibility and improves performances on OSX.

Download the XW-P1 Editor:
http://support.casio.com/download.php?cid=008&pid=1162
Download the XW-G1 Editor:
http://support.casio.com/download.php?cid=008&pid=1175
New Limited Edition XW-P1
Casio debuted a new limited edition XW-P1 at SXSW today. The Crome Orange XW-P1 is really something to see. Only 200 available in the US. Check the story at Gizmodo

“One the Run” using the XW-P1
Last week, using Casio’s Privia Pro PX-5S Mike Martin did a simulation of Pink Floyd’s “On the Run”. This week, Mike recreated the famous sequence on the XW-P1 using the arpeggiator and the solo synth. This Performance can be downloaded over on the Casio Music Forums, where you can also participate in the discussion.
XW-G1 Solo Synth Bank2 / The XW-P1 Leads
Some of the 100 Solo Synth tones in the XW-G1 are different than the ones in the XW-P1. The XW-G1 takes advantage of some its additional sample content to create some drums and other sounds that can be resampled for used in the Step Sequencer. So while it has some different things, its missing some of the cool standard synth leads sounds that the XW-P1 has to offer. So here they are. XW-G1 the P-1 Solo Synth Bank.

XW-P1 HexLayer 10-Pack1 Released
Yet another set of sounds, this time all Hex Layers for the XW-P1. As you’ll notice a number of these sounds have the initials “CG” in the name. That is because they were done by Christopher Geissler, one of the sales engineers at Sweetwater Sound. Some particularly cool vintage organ sounds in this bunch if you’re doing any Doors covers. So think about that the next time you’re going to make a purchase. Thanks Christopher!

New Arturia iMINI iPad App – Support Bob Moog Foundation
The software company Arturia has released an iPad version of the MiniMoog called iMini. Why mention it here? A portion of each purchase goes to support the Bob Moog Foundation. So why not give it a try with the only keyboards on the planet that have a place specifically for using an iPad and at the same time support a great organization that helps expose people to synthesizers!

XW Sound Week – Today’s Solo Synth 6 Pack
Hot off the press, here are 6 fresh new sounds for the XW-P1. Tomorrow, we’ll have a 6-Pack for the XW-G1. Download the XW-P1 Solo Synth 6-Pack1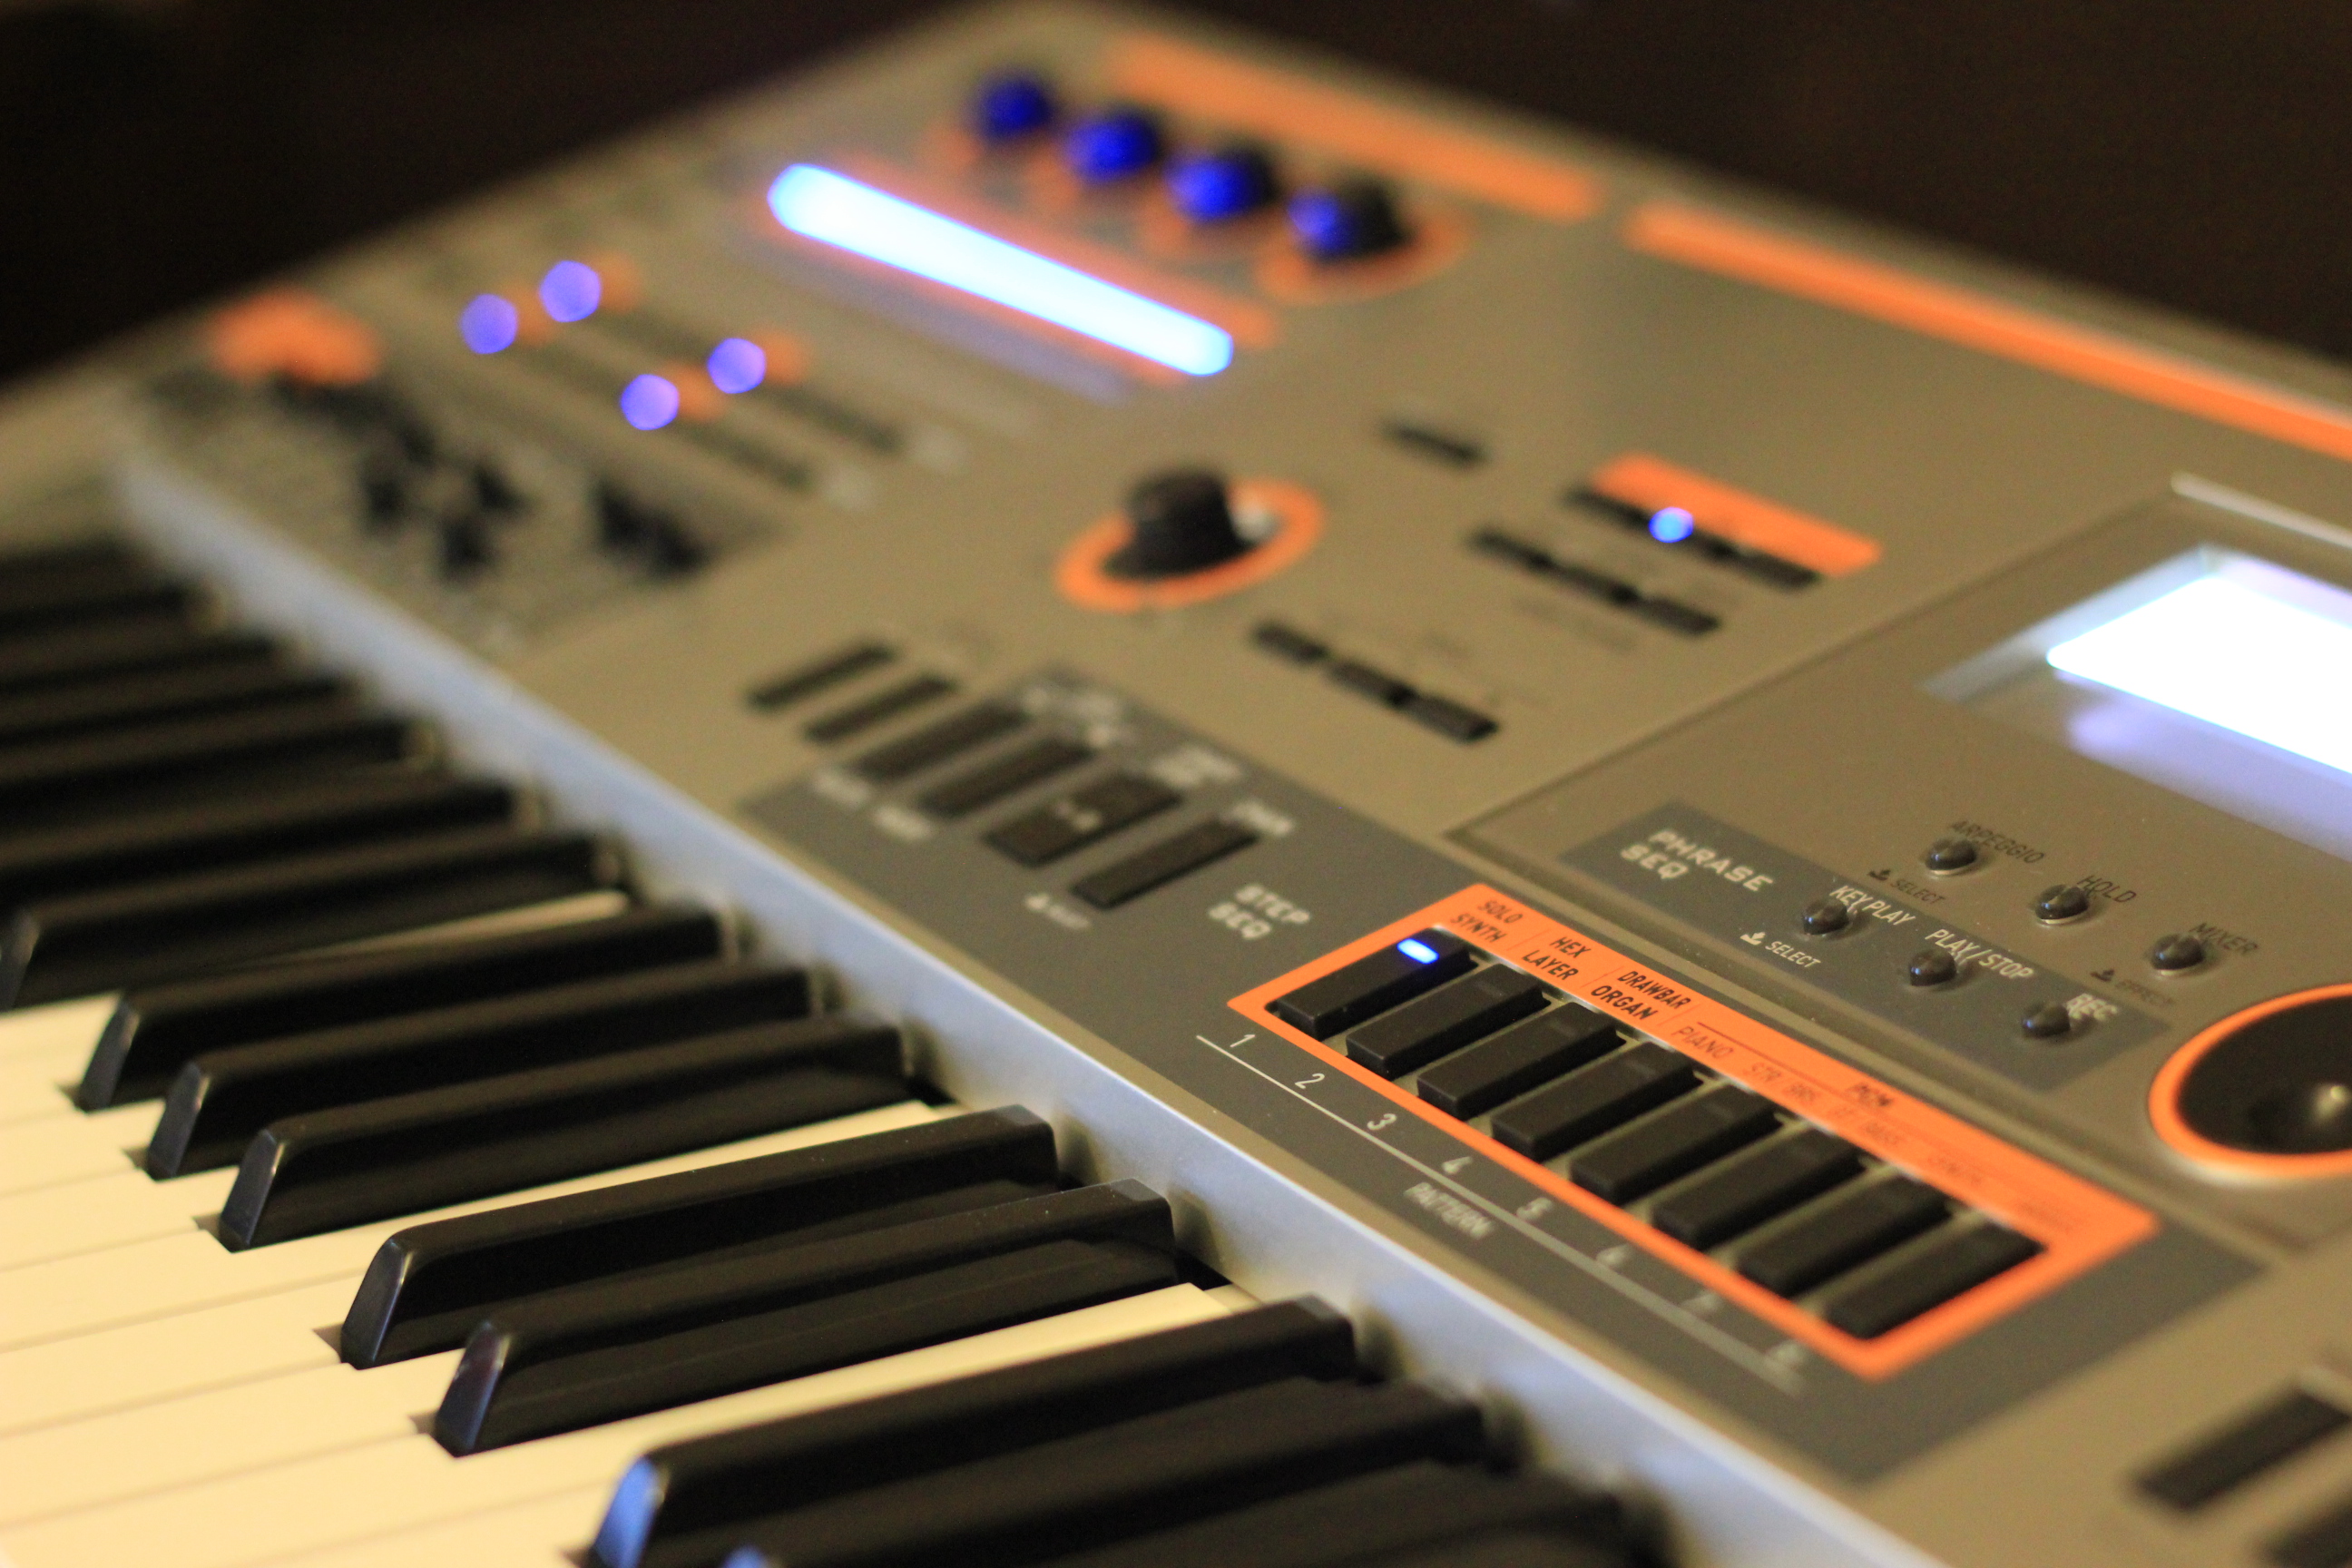
The 2013 Electronic Musician Editors’ Choice Awards
The 2013 Electronic Musician Editors’ Choice Awards
Check out the Casio XW-P1 right at top of the list. “Bold, original, clever, and definitely not “me-too” synths, the XW siblings showed that Casio is back in the synth game with a vengeance.”
Tutorial: Step Sequencer Part 2
Casio’s Mike Martin takes us through more detail on the step sequencer in the XW-P1 and XW-G1.
Getting to know the XW-P1 Drawbar Organ Tones, part 3 – percussion
The XW-P1 Drawbar Organ mode lets you combine the essential ingredients of a classic organ tone. In Part 1, we discussed drawbars and what they do, and in Part 2, we covered how to create different drawbar settings on the P1. It doesn’t stop there; here we’ll go over the next components and finishing touches to get a great organ sound.
Just like a B-3, you can add a percussive tone to the organ sound (either the second or third harmonic), by pressing one of the orange-labeled buttons while in the P1’s Drawbar Organ mode.

The percussion component of the sound is monophonic with “first-note priority”. This means that if you play a chord, or a part with both hands, the percussion will only trigger on the first note you play, and not trigger again until all notes are released. Experience it for yourself:
- In TONE mode, select preset DRW: P:003 “Perc. Organ 1”. Play a few staccato (short, detached) notes. Notice the wooden “knock” at the attack of each note.
- Hold down a note at the bottom of the keyboard with your left hand, and with your right hand, play those same staccato notes.
Notice the difference in tone: those right hand staccato notes sound much mellower, because the precussion sound is missing. The percussion has already triggered on your left hand note and is waiting for all notes to be released before triggering again.
This quirk from the old-school organ days can add a cool quality to your melody lines. Since the percussion fires off periodically, it gives the line various accents that are prevalent in classic jazz and soul recordings. However, if you were playing on an old B-3, you might use the second keyboard manual with your left hand, and/or bass pedals, enabling the percussion to trigger more often with your right hand. Since the P-1 has one keyboard, what can we do to get around this? The answer: Create a split in PERFORM mode.
Drawbar organ split
We covered how to create a keyboard split here, and the same process applies for our purposes here. PERFORM mode enables us to use one sound from a specialty category. Here, we’ll choose a DRAWBAR organ tone for the right side of the keyboard, taking advantage of the percussion effect. For the left-hand side, we’ll choose another organ sound from the PCM section. For a left-hand organ bass, try PIANO:P:6-3 “Click Organ”. Note that “key click” on an organ is not the same as “percussion”. Key click is more or less a side-effect of the tonewheel technology used at the time, and its amount varied from organ to organ. This particular preset has a nice, low, fundamental sound suitable for bass lines. Obviously, you could choose any of the PCM tones here, including basses from the GT/BASS banks as well.
If you don’t need bass, you can simulate a second organ manual by choosing a complimentary organ sound such as PIANO:P:6-2 “Tremolo Organ”. In EDIT mode, after choosing the sound, go to ZONE PARAM, scroll down to “Oct. Shift”, and try +1 or +2 to put it in a suitable range.
Since the PCM engine operates independently of the DRAWBAR ORGAN engine, the left side of the split will not trigger the percussion, and your right hand melodies will have a more authentic B3-sounding quality.
Coming back to TONE mode, we can further enhance the sound with vibrato and rotary effects, and more. Next time we’ll cover how to control these effects in real time, and how to apply some of the P1’s many other DSP effects to take the organ tones to some unexpected directions.
XW-P1 vs XW-G1
So really, what is the difference between these two synths?
The most obvious difference is that the XW-G1 is a sampler. It allows you to load in 50 of your own sampled sounds and create sample loops live. Loading in new sampled sounds is particularly good for drums and since you can find samples of nearly any vintage drum machine for free on the web this opens a wealth of options.
The XW-G1 doesn’t have the Hex Layers or the Drawbar organ mode of the XW-P1, instead you gain significant control over the Solo Synth. You can adjust tuning, envelopes and filter of each oscillator independently or as a group using the sliders.
Which one is right for you? Well that depends, but we’ll try get some audio and video examples up here soon to make the decision easier.
XW Pattern Sequencer Tutorial
Casio’s Mike Martin demonstrates the pattern sequencer on a XW-P1. For those of you that have a XW-G1, don’t worry, it works exactly the same way.
Getting to know the XW-P1 Drawbar Organ Tones, part 2
In part 1, we explored how each drawbar brings a certain harmonic into the sound. It’s the combination of drawbars at various levels that gives us the array of organ tones we’ve come to know and love. Once you get a sense of how the drawbars function, we can make some user preset settings.
First, it’s important to note that the sliders work differently than in HEX LAYER mode or MIXER. In those modes, the sliders work like a traditional mixer:
Slider DOWN= minimum (0), to
Slider UP= maximum (127)
If you’ve used a mixer before, it makes sense. Turn it up, turn it down.
However, in DRAWBAR ORGAN mode:
Slider UP= DRAWBAR IN=minimum (0), to
Slider DOWN=DRAWBAR OUT=maximum (8)
Think of a drawbar like a reverse volume fader. All the way UP (0) is silent, and as you pull the drawbar DOWN, you get increased volume level from 1 to 8. Why is it like this? On a vintage drawbar organ, the idea is that all the way “in” is “closed”, and bringing the drawbar “out” (towards you) “opens” it up, letting its sound come through.
As you move a drawbar slider, look at the screen. You’ll see the name of the drawbar and its value displayed temporarily below the preset name, as seen here:

As you can see, there’s also a visual of the overall drawbar setting on the right side of the screen. A drawbar preset is often described as a row of nine numbers from left to right, with each number representing a drawbar position. In the case of the photo above, that setting would be described as “888000000”. This is a classic setting that can be found in PRESET DRW:P0-0 “Drawbar Org 1”. Try matching this setting by pulling “out” the lowest 3 drawbars, and pushing “in” the others.
Now try these settings, by moving each drawbar until the screen shows the corresponding number:
888800000 (Booker T.-style soul)
885800321 (top end shimmer)
888000004 (classic with added whistle)
Remember, with the XW-P1, you can change the sound while you play, to tweak the drawbar settings to your liking. Once you find a sound you like, you can save it as a USER PRESET.
This is a major part of getting a great organ tone, but there’s even more to it. Next time we’ll cover percussion, vibrato, and rotary effects.
